Your first useful conversation
Set up a project, bring in the right information, and ask a question that moves your work forward.
Start with a workspace
Sign in to Steward with your work email. If a colleague invited you, use the invitation to join their workspace. If you sign up on your own, Steward creates a workspace for your business right away.
If you are signed in but don’t belong to any workspace, for example because an invitation expired, Steward shows Create your workspace. Enter your business name and select Create workspace. If you expected an invitation instead, ask your administrator to invite your address again, then sign in once more.
Your workspace brings together your people, projects, and connections. Use the workspace name at the bottom of the sidebar to switch between workspaces you belong to.
The workspace shown on the public homepage is a static example with sample data. Select Get started there to sign in and work in your own workspace.
Say hello to Steward
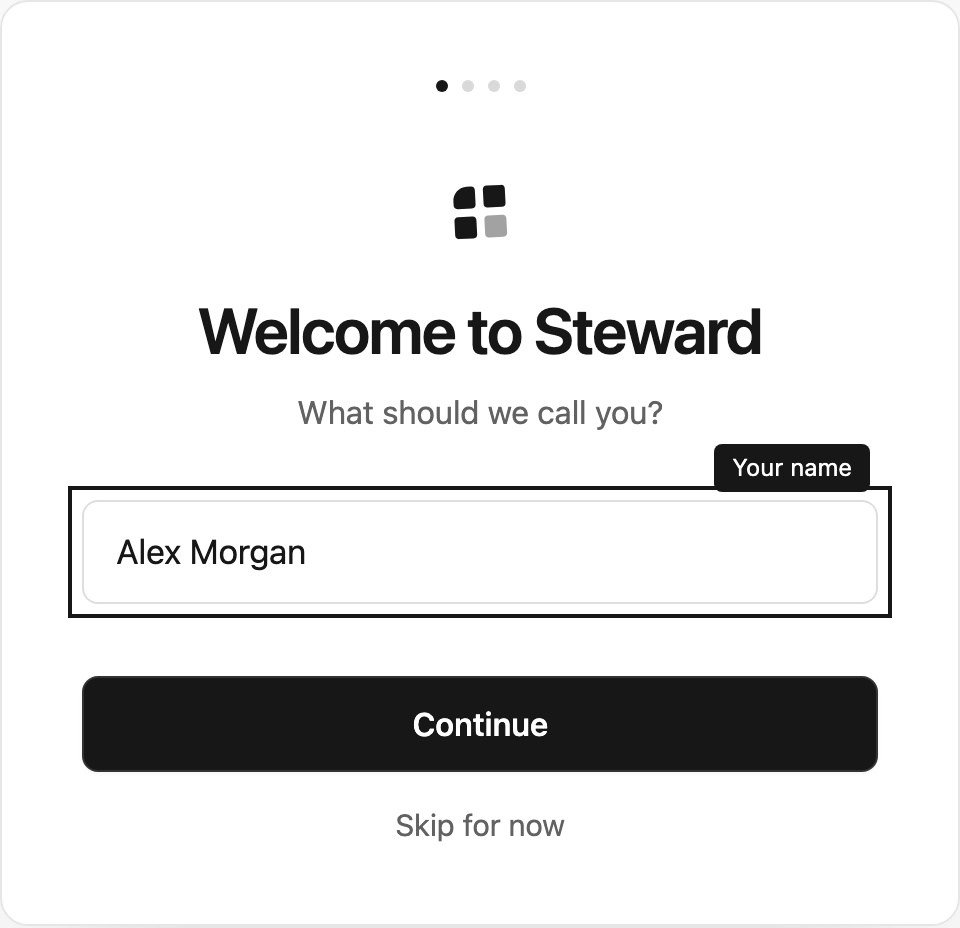
The first time you open a new workspace, a short welcome guides you through setup. Press Enter or select Continue to move on. Select Back at the top to change an answer.
- Welcome to Steward: tell Steward what to call you. Teammates see this name next to your messages.
- What’s your business called?: enter your business name. Everyone you invite sees it.
- If someone recommended Steward to you, the welcome shows the credit they gave you and the steps that earn them a thank-you reward. Your credit doesn’t depend on these steps: it comes off your first invoice. If you have an invite code instead, enter it under Have an invite code? and select Apply code, or just continue. The person who invited you can see your name, your business name and which steps are done, never your conversations or data.
- You’re all set previews your first steps. Select Start to open your home page.
The welcome appears in a workspace’s first 30 days. Owners and administrators see all of these steps. If you joined a team there, Steward welcomes you in a single step; select Get started when you’re ready.
Select Skip for now under the main button to close the welcome before its last step. To see it again, open Settings → Profile and select Show walkthrough under Getting started.
Follow the setup checklist
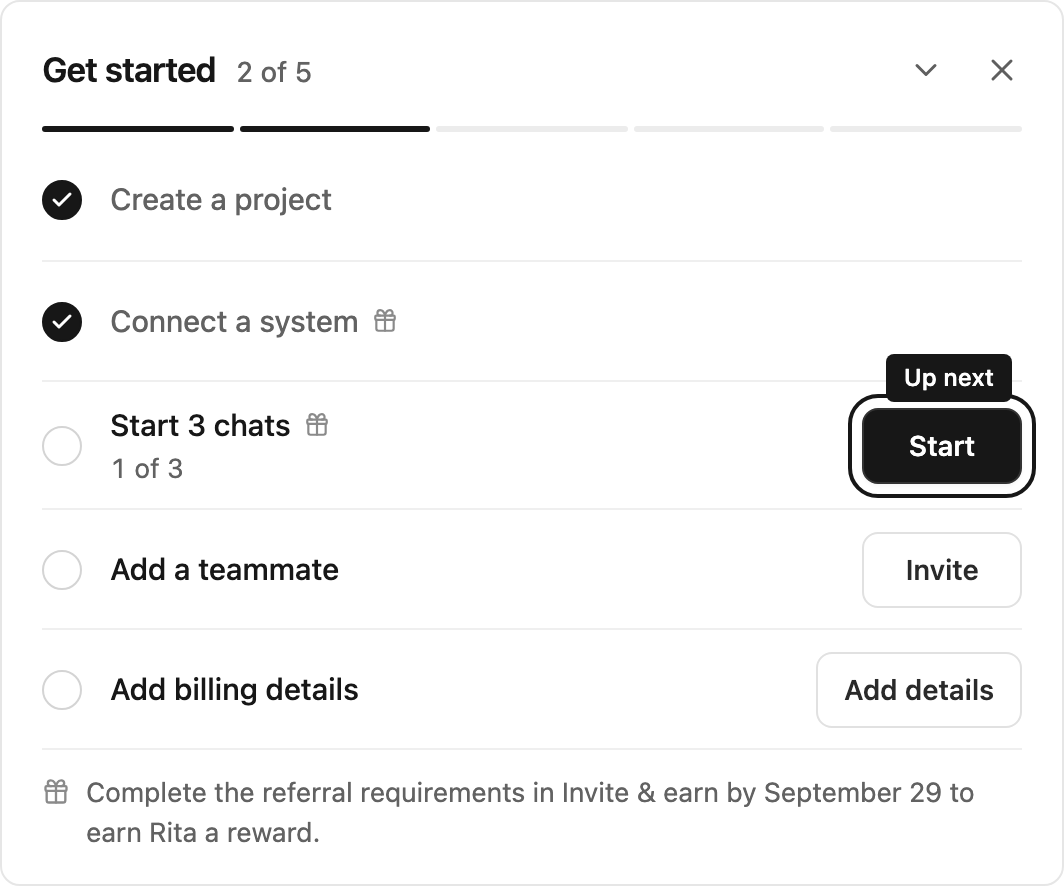
The home page of a new workspace shows Get started with your progress, for example 2 of 5. Each step has a button that takes you there:
- Create a project opens the project form.
- Connect a system opens Settings → Connections.
- Start your first chat opens a new chat.
- Add a teammate opens Settings → People. It ticks off once they accept your invitation.
- Add billing details opens Settings → Billing once billing is active for your workspace.
The final step saves your company and billing address. You can then add a card on the Billing page. Onboarding takes priority over the billing reminder. See Invite & earn for all referral requirements, including any card or first-payment step.
Members see the project and chat steps; connections, teammates and billing details are for workspace owners and administrators. Steps tick off by themselves as you complete them, wherever you do the work.
If your workspace joined through a recommendation, a note under the list shows the date by which to finish the steps to earn a reward for the person who invited you. Steps that count toward it are marked with a small gift, and the targets match the reward, for example Start 3 chats.
Use the arrow to collapse the list, or the cross to hide it for this workspace. When every step is done, Steward celebrates briefly and the list disappears. Show walkthrough brings a hidden list back.
Give your question a home
Every conversation belongs to a project. Choose an existing project in the sidebar, or select Create project to start one. A name such as “Sales review” or “Catalog & pricing” makes it easy to find later.
Project members can read the conversations in that project. Your unfinished draft stays private until you send it.
Bring in the information
Enable the connection for a project, then invite colleagues to that project with the appropriate project role. They can use the configured connection without a separate connection grant.
You can also attach a file with the paperclip beside the message box. Wait for the upload to finish before sending.
Ask a specific question
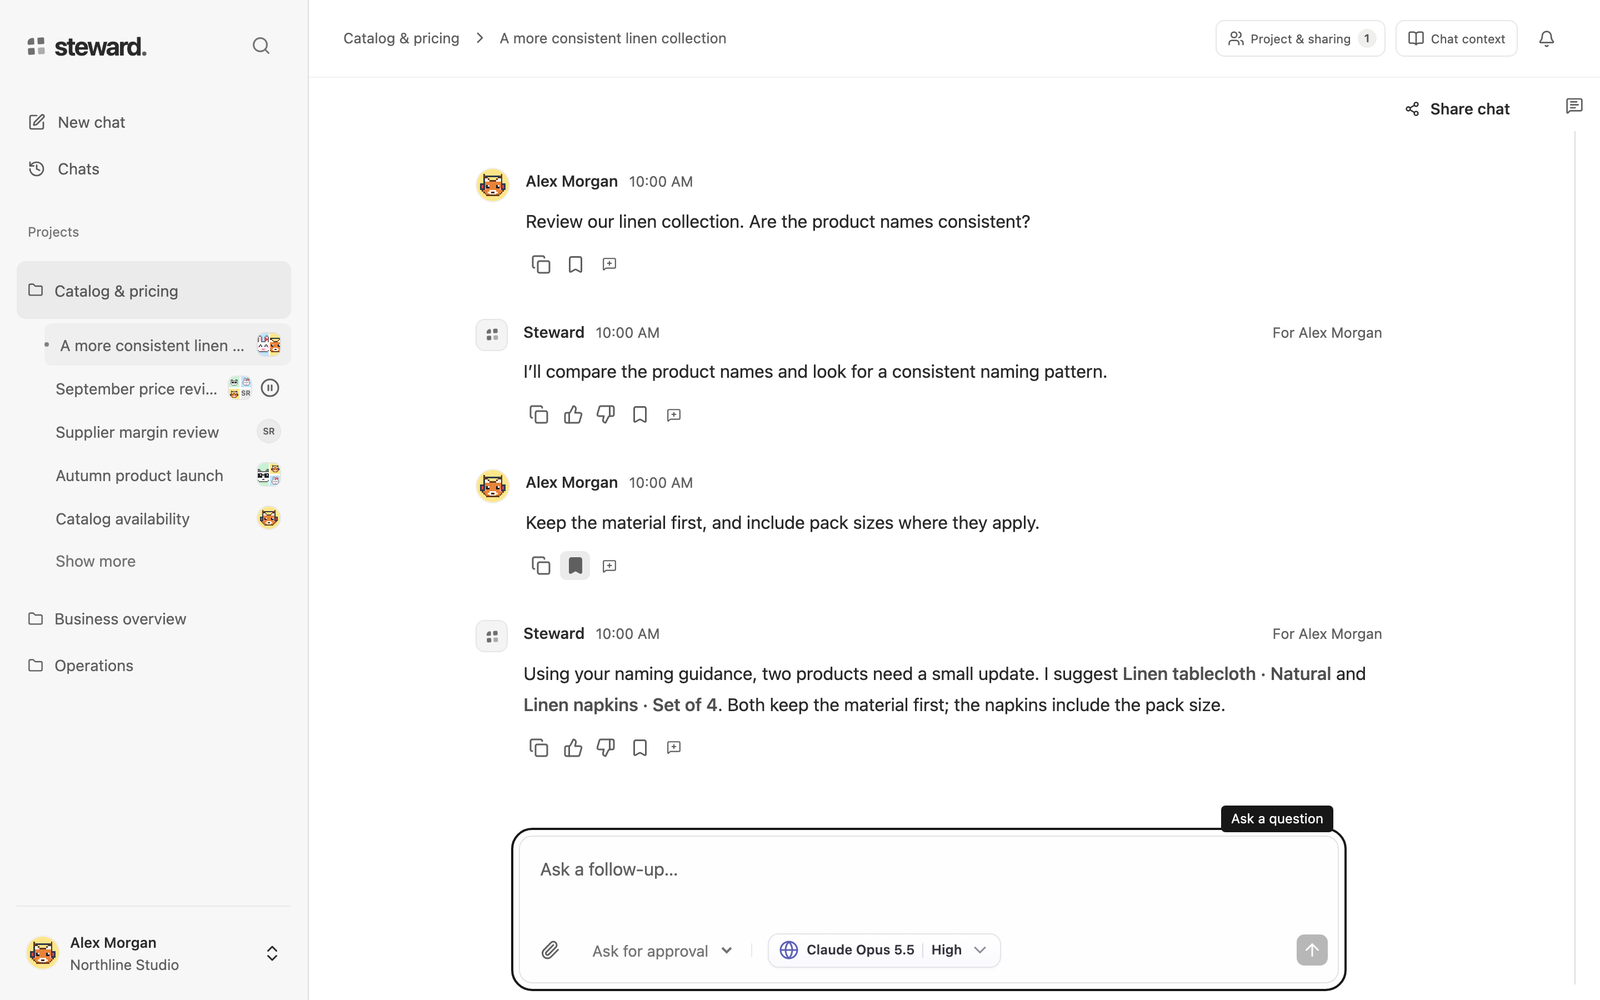
Select New chat in your project and start typing: the message box is focused automatically once your draft is ready. Contributor or Manager access is required to send messages. Include the period, the subject, and the kind of answer you need. For example:
Review sales orders for August. Show the five largest customers and explain what changed from July.
Choose Read only if you only want to explore. Ask for approval is the default and lets you review proposed changes before they are made.
Press Enter or select the send arrow. Use Shift+Enter for a new line. You can ask a follow-up in the same conversation or add guidance while Steward works.
Move from an answer to a next step
Project members use the connections enabled for their project without a separate connection grant. Viewers follow results and download shared files. Contributors ask questions and prepare changes. Managers also approve changes. Chat modes, connection approval rules and the business tool’s own access limits still apply.
The chat mode controls execution, while your project role controls what you can do. Read only prevents business-tool changes. Ask for approval requires a Manager’s decision. Automatic permits supported changes for Contributors and Managers unless an approval rule requires review. Choosing a mode never changes project access.
If your first question gets stuck
A connection notice at the top of the chat tells you when no usable business connection is available. Open Project connections from the notice and follow the setup guidance. You can still work with uploaded files without a business-tool connection.
Connect your business tools
Enable the connection for a project, then invite colleagues to that project with the appropriate project role. They can use the configured connection without a separate connection grant.